Enjoy, Jen x
'Mother's Day Gift Ideas'
A collection of gift ideas perfect for Mother's Day.
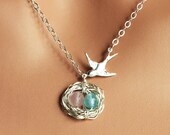 Mother of Two Bird Nest Neck...
$38.50
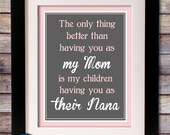
| 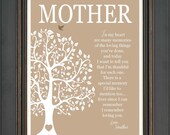 Personalized Gift for Mom- ...
$15.00
|  Silver Family Tree Necklace,...
$35.50
|
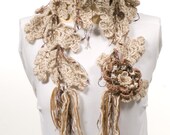 ON SALE. For her. Cream, bro...
$29.50
| 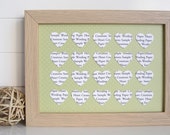 Personalised Text Heart Fram...
$22.00
| 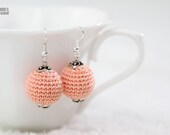 Pastel Peach Crochet Earring...
$10.00
|
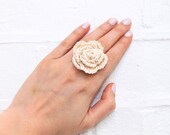 crochet rose ring, flower ri...
$6.50
|  Dandelion Seed Make a Wish N...
$23.00
| 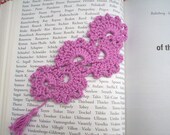 Lace crochet bookmark choice...
$6.00
|
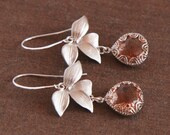 Peach Earrings - Silver Fram...
$28.00
| 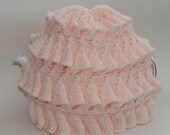 Knitted peach daffodil stitc...
$19.50
| 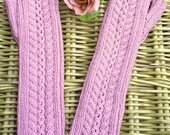 Women's Wristwarmers / A...
$14.00
|
 Grandparent 8x10 Print for G...
$13.95
|  Vintage Style Sewing Kit wit...
$18.50
| 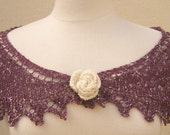 Bridesmaid Petal Shawlette
$50.00
|
 10 Things Love About MOM Mam...
$13.00
|
Treasury tool supported by the dog house